You need to follow the right steps when mixing paint for a paint sprayer. The paint should be thin enough so that you can achieve an even spray.
There are different types of paint sprayers available; it is necessary to compare different devices so that you can decide on the best. Good care of the paint is necessary to allow the sprayer to serve you well. You should ensure you have mixed the paint well.
Tips for mixing paint for a paint sprayer
1.Select your paint and thinner
There are different types of paints which can be sprayed. You can decide to have oil based enamels, acrylics, and latex paints. The paints come in a state where you will not spray them on the wall or any other surface where you will like to paint. You need to choose the right thinner. The manufacturers of different paints will specify the type of thinners you can apply. Always go for a thinner which is recommended for your type of paint so that you can achieve the best results. Apart from the thinner, the choice of paint matters. There are different colors of paint available. You should take into consideration the interior design or the overall aesthetic feel you will like to bring out before you choose the color of a given paint. The right thinner will make the paint flow through the siphon tube and nozzle viscously for you to achieve an even paint surface.
2. Put on safety gear before opening the paint
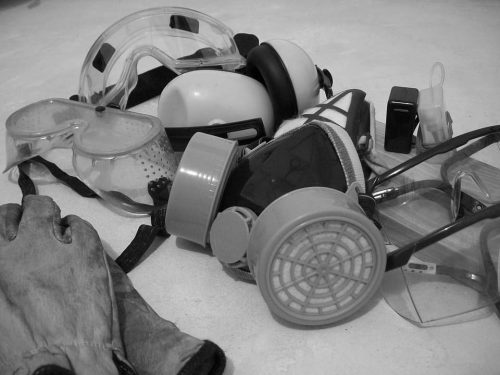
After you choose the right paint and thinner, the next step involves protecting yourself against the harmful chemicals which may be available in the paint. You need a respirator or mask, gloves, and safety glasses before you start mixing the paint and the thinner ready for the paint spraying process. The safety gear will keep you clean during the spraying process as well as protecting you from harmful particulates. After you wear the safety gear, you should not proceed and open the paint; you should proceed and prepare the surface where you are about to spray paint so that you can mix the paint and get into business immediately. It is necessary to reduce the time paint will be exposed to air which accelerates evaporation. If the surface requires priming, you can as well apply the prime.

3. Mix enough paint to do your project
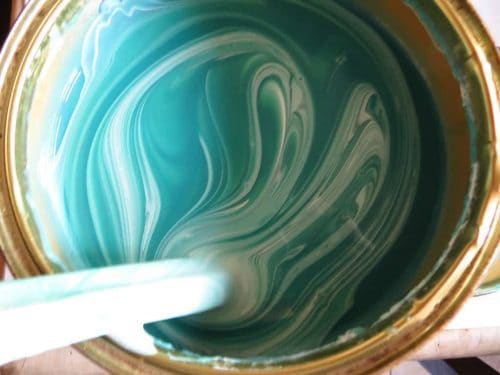
After you open the paint can, you should mix it thoroughly before you pour the amount you can use at a time into a separate can. It is necessary for you to mix the paint before you take out the amount you need for the paint spraying job so that you can have all the ingredients of the paint spread evenly. The container where you will pour the paint required for your job should be clean. It is necessary for you to avoid cases where you will have impurities in the paint.
4. Add the thinner to the paint and mix
After you have separated the amount of paint you need for a given spray painting session, you should mix the paint with the right amount of thinner so that you can get ready for the spraying job. If there are any lumps formed during the spray process, you should remove them to avoid cases where they will block the spray.
5. Prepare the spray can for the paint
Before you pour the paint into your spray can and start the spraying process, you should clean the spray can first. Just pour some thinner into the spray can and rinse. The thinner will remove any particle which may have developed in the can. The final process includes filling the sprayer for you to start the job.
6. Cleanup
After use, the paint should be emptied from the sprayer, and the can be cleaned as well as the nozzle. It is necessary for you to clean the entire system so that you can avoid cases where the paint will dry in the nozzle leading to blockage of the sprayer. Remember most oil based paints evaporate at a faster rate hence you should clean the sprayer as soon as you finish your painting work.
