A paint sprayer is one of the favorite tools of many DIY enthusiasts who are always thinking about their next project. It can help you to give your home a makeover quickly. We hope these tips to use a home paint sprayer will help you to make the right choices about buying and using a paint sprayer.

If you are not aware of the different types of paint sprayers and don’t know how to use them, take time to educate yourself. A little research can help you to pick the right type of sprayer. You can practice using it with water on a board to hone your skills before starting your project.
1. Choose the right paint sprayer
It’s best to try out a few paint sprayers before you buy one. This will help you to pick one that’s suitable for your needs. You may find that many paint sprayers are not easy to use and this could make you think that this is not the right tool for you.
Try out different models until you find one that’s easy to use. You will discover that using a home paint sprayer is a lot easier than you think! This beginner’s guide provides practical tips on using a home paint sprayer:
2. Prepare the area
Prepare your painting area before taking your paint out. A spray shelter will prevent overspray from damaging your valuable possessions and those of your neighbors. It will only take you a few minutes to set it up. Place a tarp under the spray shelter to prevent paint from dripping on the floor. This will also make cleaning up a lot easier.
3. Fill your paint sprayer with paint
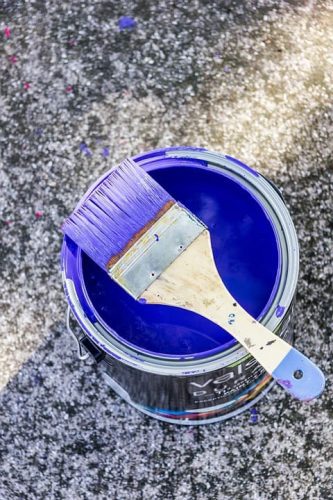 The first step is to unscrew the paint container from your sprayer and fill it with paint. You may need to strain your paint if it is more than a month old.
Your paint is likely to get lumps after it has been open for a while. If it isn’t strained, the lumps may clog up your sprayer. You can fill your container to the half to three-fourth level based on the area you want to cover.
4. Thin your paint
Thin your paint by adding just enough paint thinner or water to get it to the right consistency. Check the label of your paint to see if you need to add paint thinner or water to thin it out.
Stir in water or paint thinner a little at a time while checking to see if it has reached the right consistency. If your paint is still too thick, you can always add some more and then check it again. Keep stirring your paint as you add water or paint thinner to it.
5. Use a viscosity cup
If you’re worried about thinning your paint too much or not thinning it enough, you’re not alone. You can solve this problem by getting a sprayer with a tool known as a viscosity cup. After thinning your paint and stirring it up, dip the viscosity cup in the paint cup and see how much time it takes to run out of the cup.
If you’re working with basic enamel paint, you will know that it is thin enough when it runs out of the viscosity cup in around 25 to 40 seconds. If it takes more time, thin it a little more and do the test again. You can repeat this process until your paint reaches the desired consistency.
6. Adjust the spray pattern
Adjust the spray pattern by turning the air cap on the front of your sprayer with wings on it. If you turn the wings horizontally, you will get a vertical spray pattern and if you turn them vertically, you will get a horizontal spray pattern.
You can use a horizontal spray pattern if you want to spray something up and down. Use a vertical spray pattern if you want to spray something from side to side.
7. Move your entire arm
Plug your sprayer into an extension cord and hold it 5 to 10 inches away from the item you want to paint. Pull the trigger and commence painting while moving your entire arm, not only your hand. As you spray the item, your arm needs to be in motion constantly. It must not remain in one place for too long.
Usually, you need to do two or three light coats to cover the entire item. It’s unlikely to be fully covered in one coat. It takes a lot less time to spray on each coat of paint than it does to apply it with a brush.
8. Allow each coat to dry
Let each coat dry before applying the next one. After the first coat, you may find that some spots have not been covered. That’s normal and you can cover them in subsequent coats. You can suitably position and tilt the sprayer to cover spots that are hard to reach, but avoid tipping it more than 45 degrees.
You can add a topcoat to provide protection to your paint job. When you’re done, you need to clean up and wipe off any splashes and drops of paint.