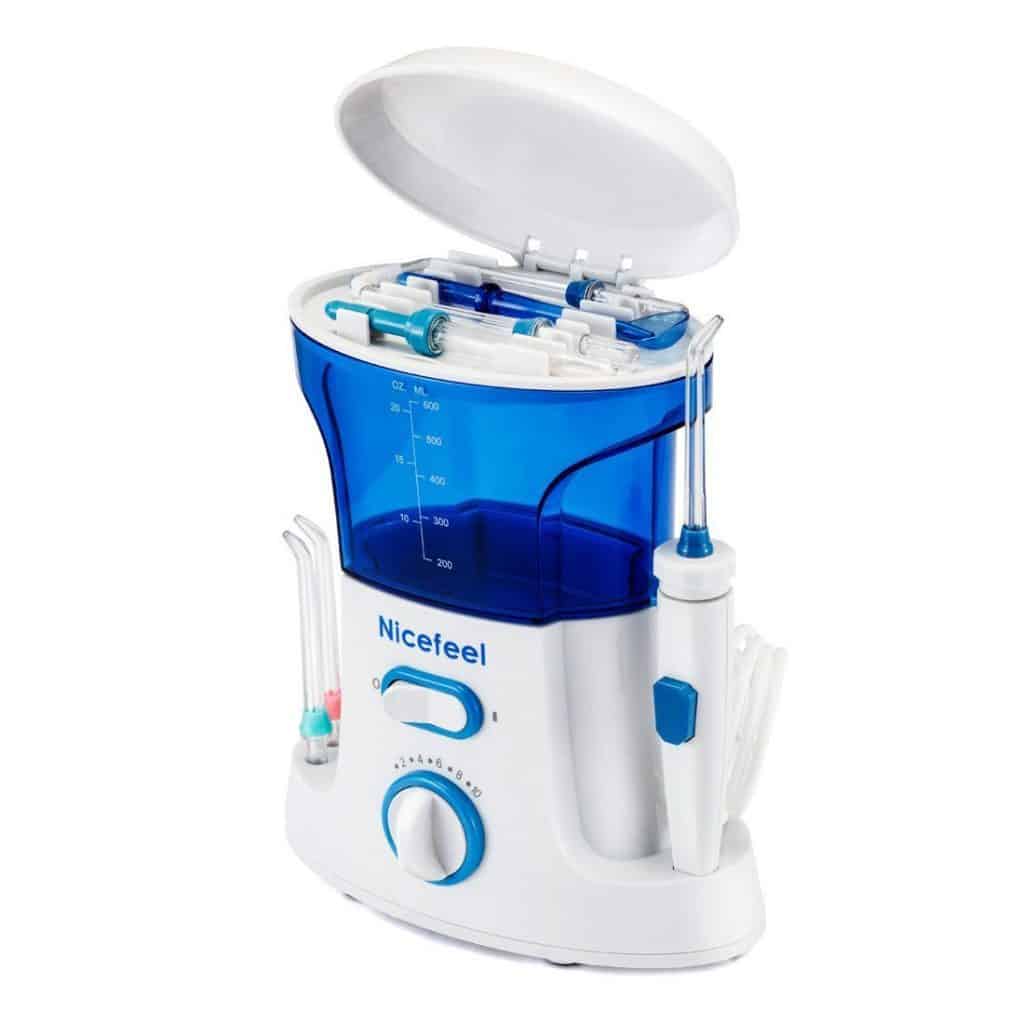
A water flosser can be an excellent hygienic tool. And if you keep it well, it can serve you for many years. However, things don’t always go well, and one day you might wake up to a problematic unit that does not function well.
In such cases, you’ll need to understand how to fix the unit and all the tools you’ll need to for the job. In this article, you’ll discover some essential tools and accessories you’ll need to fix the common water flosser issues listed below.
1. Reconnect a broken water flosser hose
After using your unit for some period, the tube tends to break due to the stress it undergoes. This might result in water leakages as well as decreased water pressure, making your unit less efficient. Luckily, you can fix the problem by using these simple tools: a screwdriver and super glue.
With the screwdriver, open the tight handle case apart so that you can access the hose that was cut off from the rest of your unit water line. Then you’ll have to remove it and reconnect your water hose (this might make your hose slightly shorter) to solve the issue.
Afterward, apply some strong glue to the contact points of the handle housing so that it sticks back into position.
2. Fixing a leaking water flosser reservoir
Like in any other water-related unit, leaking has always been a standard issue in water flossers.
If the leakage comes from the reservoir, you’d want to check whether it has a black tank valve.
And if it’s missing, then you’ll have to replace it- ensuring you place it with the right side up.
3. Replacing the entire hose (plus handle) of your unit
If the whole hose needs repair of your unit needs replacement, this is your part.
You ought to start by looking for a replacement hose from your manufacturer.
Next, you’ll need to disassemble the bottom of your Waterpik. How?
The fact that the bottom of your unit is sealed by some little clips at the four corners makes dissembling it an easy exercise. Simply grab four flat-head screwdrivers and place them at the four sides of the rectangular base.
Using four screwdrivers makes all the clips loose, enabling the base to come out quickly.
Now you can see the section where the current hose connects to your unit base. Just disconnect it and connect the new hose. With some pliers, clip the hose into place to ensure it perfectly clips to your unit (to prevent cases of leakage).
Place the base back to the unit, and be sure to align all the holes to the clips for a tight seal. You can easily tell if you correctly placed the unit as it will perfectly snap back into place.
NOTE: When reassembling your unit, make sure you fit the switch slider back into the motor actuator hole.
4. What if you accidentally plug a 110V AC unit into a 220V AC electric outlet?
As you know, not all water flossers connect to the same electrical outlet. Connecting your unit to the inappropriate outlet leads to burning out of the resistor on the unit’s circuit board.

In such a situation, you can quickly fix your unit with a new resistor to get your unit back to work.
Here, you’ll need a new resistor, four flathead screwdrivers to disassemble your unit (as we’ve just explained above), soldering and desoldering wire, and a pair of pliers.
5. Replacing the battery in your unit
Here’s one more tip that can help keep your Waterpik at a peak performance.
And that involves replacing the current battery if you feel it has become weaker, or after an extended period of use.
The tools required to complete this task include a screwdriver to open your unit case, new battery, soldering and desoldering wire, a pair of pliers, and petroleum jelly to help waterproof the battery terminals (and to lubricate the unit gear).
Final Thoughts
These are simple, readily available tools that you can use to fix all the problems related to your Waterpik.
Whether your unit requires fixing a broken hose, the entire hose, the battery, burnt resistor, fixing a leaking reservoir, and so on, you don’t have to throw it away when you have the above tools within reach.