Are you familiar with all the electrical measurements you can take with your digital multimeter? If not it’s nothing to be embarrassed about because there are so many electric diagnostic uses for them. Even many professional electricians will tell you they don’t know everything their digital multimeter can do. One thing is for sure, they are very useful at is checking to see if a household electrical breaker is working properly. In this article, we will describe to you exactly how that is done.
The Two Types of Electrical Breakers in Your Electric Panel Box
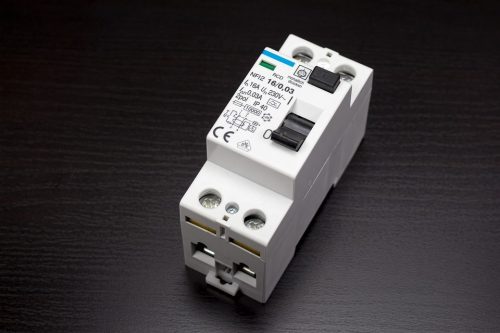
If you live in America and open up your electric panel box you will most likely notice there are two types of breakers in there. These breakers will be either single-pole (115/120V) or double pole (230/240V) breakers. The majority will probably be single pole breakers because double pole breakers are only required for such heavy electrical use items such as water heaters, clothes dryers, and hot tubs.
How to Test Each Type of Breaker with a Digital Multimeter
The methods for testing a single pole circuit breaker and a double pole circuit breaker with a good digital multimeter are basically the same. There is just one big difference which we will go over in the steps below.
Step 1: Open your panel box. Next, remove the protective cover. You will need to remove several screws to do this depending on the size of your electric panel.
****Once your electric panel box cover is off, be very careful not to touch anywhere inside it because all the wires and breakers inside will be live.****
Step 2: Turn the breaker you want to test off.
Depending on how the breakers are positioned this will most likely mean pulling the on/off switch on the breaker down or towards the middle of the breaker panel.
Step 3: Select the proper test positions on your digital multimeter
When you want to test to see if a breaker in your panel box is working or not you want to turn the dial to the AC volts selection. This is usually abbreviated ACV on your test meter selection options.
If your test meter is not auto-ranging you will also need to put it on a range selection that is higher than the voltage you are testing (e.g. use ACV 200 setting to test a 115V breaker).
You will also have to have your test leads plugged into the proper spot on your digital multimeter. The red test lead will plug into a spot on the bottom of your multimeter with “v” for voltage marked on it. The black test lead will plug into the spot on the bottom of the multimeter marked “common”.
Step 4: Test the breaker
On a single pole breaker you will see two wires coming into the bottom of it; a white wire and a black wire normally. These connect to the breaker mounting terminals which have a recessed screw that firmly clamps down on the incoming wire when tightened. On a double pole breaker, you will see three wires; a red, black and white wire coming into them. The red and black wires are hot wires and the white is a neutral wire.
Testing a single pole breaker with your multimeter
To test the breaker when it’s off put one multimeter test lead on the mounting terminal screw for the incoming black wire and the other multimeter test lead on the electric panel box grounding lug terminal (you will see many bare copper wires going into this) or neutral bus(you will see many white wires going into this.
Once this is done when you look at your meter it should read an ACV of zero because the breaker is off. If it reads over 2 volts of electricity your breaker is bad. Next turn the breaker on. If your ACV on your meter reads between 110V – 125V your breaker is working properly. If you don’t get any voltage when the breaker is on or less voltage than called for the breaker needs to be replaced.
Testing a double pole breaker with your multimeter
Testing a double pole breaker is slightly different than testing a single pole breaker. That is because it takes two 115/120V legs of electricity to add up to the 230V/240V supply this breaker puts out.
You will simply take a reading from the mounting terminal screws where the black and red wires connect to the breaker. With the breaker on you should get a reading somewhere between 220V – 245V if the breaker is working properly. If not the breaker is bad and needs to be replaced.
**** Important safety tip – whenever you are measuring across two terminals on a 230V circuit breaker always try and hold both probes in one hand. This is done so that in the rare case you get shocked the current will not travel from hand to hand. When that happens the current can hit vital organs such as your heart along the way and severely damage these organs.****
A Budget-Friendly Digital Multimeter That Works Great
Neoteck Pocket Digital Multimeter 8233D PRO 2000
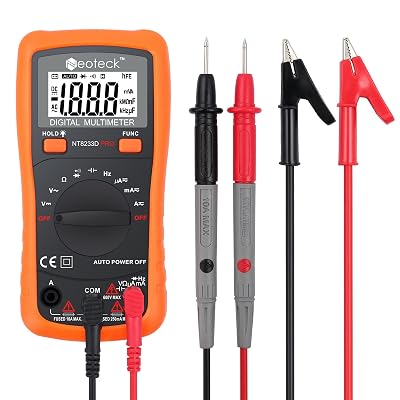
This digital multimeter does a lot for the affordable price you will pay for it. It means that everyone can now have a digital multimeter that works well without breaking the bank. It’s lightweight and compact and even has a soft plastic body that prevents it from breaking when dropped during use. This digital multimeter includes several features you would expect to find on much more expensive multimeter models.
Pros:
- Easy to find bright orange body
- Backlit LCD display
- Softened plastic body (provides drop protection)
- Auto-shutoff
- Auto-ranging
- 45° stand built into its body
- Fully fused and overload protected
Cons:
- Backlit display timeout is a little fast
- Capacitance does not display in small increments
A Super-High Quality Digital Multimeter
Fluke 115 Compact True-RMS Digital Multimeter
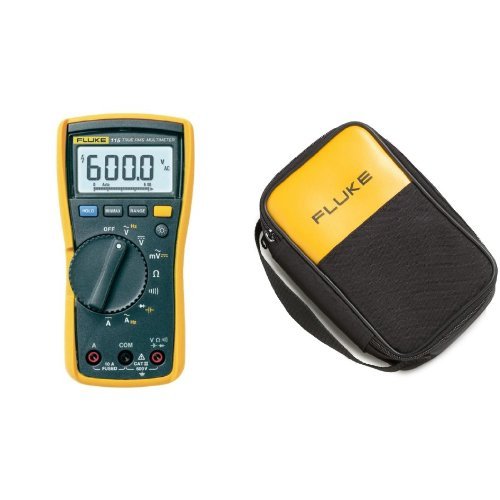
Fluke has long been one of the innovators when it comes to digital multimeter technology. You can never go wrong having a Fluke manufactured multimeter sitting in your toolbox. With this deluxe model digital multimeter you can test such things as AC/DC voltage, DC current, resistance, frequency, capacitance, continuity and do diode testing too. It’s simply loaded with features that make it easy to do electrical diagnostic testing.
Pros:
- Comes with a tough polyester storage case
- Has accurate true RMS measurements
- It’s an auto-ranging multimeter
- Low-light backlit/Easy to read LCD display
- Features max value hold and data hold
- 45° stand built into its body
Cons:
- The test selector knob could work a little smoother
- The display is only clear when looking at a slight angle