One of the most common questions I get from co-workers and others is how to paint ceramics with a paint sprayer. Many people choose to buy a paint sprayer for common household painting, especially those who are into refurbishing items or painting areas of their home. Many kitchens and bathrooms have ceramic areas that will look great with some fresh paint. Let’s take a look on the tools needed, how to prep the spraying area and the steps to use to complete the job.
How to Paint Ceramics- Prepping the Area
Before painting ceramics it is important to prep your painting area before starting the job. Let’s take a few steps that you should take before moving forward with painting your ceramics.
Is There Grout?
If you are a ceramic pot or another ceramic object you don’t need to worry about this step. If you are painting a ceramic floor, it is important to know if you are going to paint the grout or not along with painting the ceramic tiles. If you are NOT painting the grout it is important to use painter’s tape to seal off all of the area. If you plan to paint the grout, it is wise to scrub the area with Oxyclean or another related product twice and let it dry before painting.
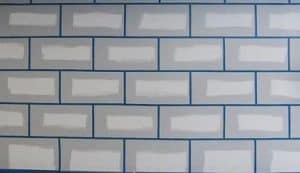
Painter’s tape in between ceramic tiles
Priming Ceramics to Paint
Drying is the key before moving forward with any type of priming. You will want to use the same type of primer as the paint that you are using. Example if you choose to use oil based paint, you will use oil based primer and so on with other choices. It is always wise to spend up a little when you are choosing a primer because this can make the painting process much easier with a good coat of primer. Prime and dry and then you are ready to paint.

Picking a good primer is essential
Painting Ceramics- 6 Steps to Success
Now that you have prepped your area and/or object that you wish to spray. You can now start the process of painting your ceramic. Successful ceramic painting can be done with 6 simple steps, with a few additional steps added for any additional repainting you may need on the area. Here is a step by step guide to painting ceramics.
Step 1: Prep your Paint Sprayer– If you are using a paint sprayer for the first time it is important to know the ins and outs of your particular sprayer. Because paint sprayers come with various speeds and spraying area, it is wise to follow all instructions that come with your sprayer before using it on something that is important.

Know your paint sprayer before painting
Step 2: Choose a Sample Piece- Before you start spray painting, you’ll need to choose your ceramic pieces. If you have an unwanted piece of ceramic, you might want to try out the spray paint and then proceed to your project. One tip for those who are spraying ceramic floor tiles or other parts of the home is to practice first on an extra tile or something and let the tiles sit overnight to see if the color looks good after the painting.
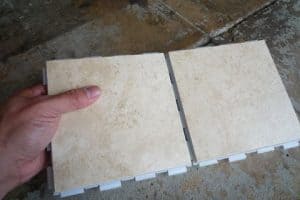
Choose spare ceramic to paint first
Step 3: Slightly sand the ceramic- Slightly sanding the ceramic will ensure that the spray paint is applied evenly. Ceramics tend to have a smooth and glossy finish. Therefore, you should use an over scuff to lightly sand the surfaces. You should avoid over sanding or using more powerful methods. If you sand the ceramic too much, the surface can get scratched. It’ll be extremely difficult to apply the spray paint evenly. We recommend using a sanding grit of 220 if you are sanding objects such as ceramic.
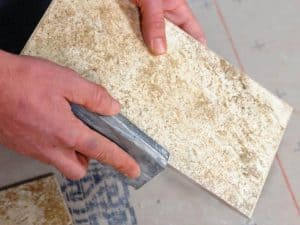
Sanding with 220 grit
Step 4: Make sure the ceramic is clean- After you sand the ceramic, there will be left over dirt and debris. It is important to clean the ceramic in order to prep it for the spray paint. If there is any leftover dirt/debris, it’ll get stuck in between the ceramic and the spray paint. It’ll look gritty; as if it has a sandy finish. If you get stains on your ceramic we recommend mixing together baking soda and water, this should remove all tough stains. For ceramic without stains, a Lysol wipe is a great option.
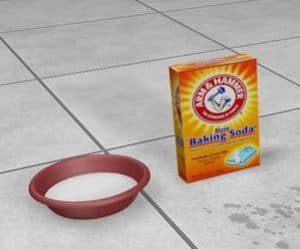
Baking Soda & Water is a great cleaner for ceramics
Step 5: Read the safety precautions and prep- After you clean the ceramic, you should double-check the instructions on your paint spray gun. The manufacturer might have specific instructions when it comes to the distance that you should hold the can away from the ceramic. You should wear protective eye wear and a breathing mask when you are using a paint sprayer indoors.
Even if the window is open, it is better to increase the ventilation. This will prevent you from breathing in any toxic or harmful fumes from the spray paint. While there will be no exact warning on how to paint ceramics, painting anything indoors will require safety measures to be followed, especially if no circulation is available.
If you need to avoid certain areas, it is wise to use a quality painter’s tape to avoid being messy.
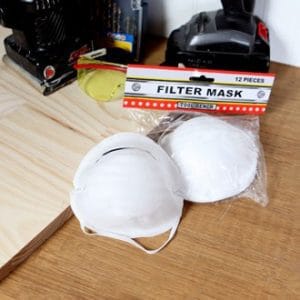
Safety is priority #1
Step 6: Spray away- Finally, you are ready to spray paint your ceramic item(s). You should apply three coats of spray paint when you are working with ceramics. However, it is essential to wait the proper amount of time between drying sessions. The ceramic should be completely dry before you apply another coat.
Sometimes ceramic can take longer to dry than other materials. Therefore, it is important to be patient and take your time. If you fail to wait, the spray paint will look unattractive and uneven. We recommend doing your first coat at night and then letting your ceramic sit overnight. The next two sprays can be completed the following day, one early in the morning and the other at night; optimally it is wise to give a 10 hour window before applying another coat of paint.
We recommend using a good airless sprayer to avoid any problems with circulation in your bathroom areas.

Spraying a Ceramic Shower
Conclusion
Using a paint sprayer allows you to experiment with different colors and styles. You can upgrade your décor and improve your surroundings by spray painting your ceramics and other bathroom items. If you are looking for a cheap piece of ceramic to experiment with, you should check out your local discount store or thrift shop. This will allow you to try out the spray paint before you apply it to your expensive objects. If you have ever wondered “how to paint ceramics” hopefully this guide has helped you out.